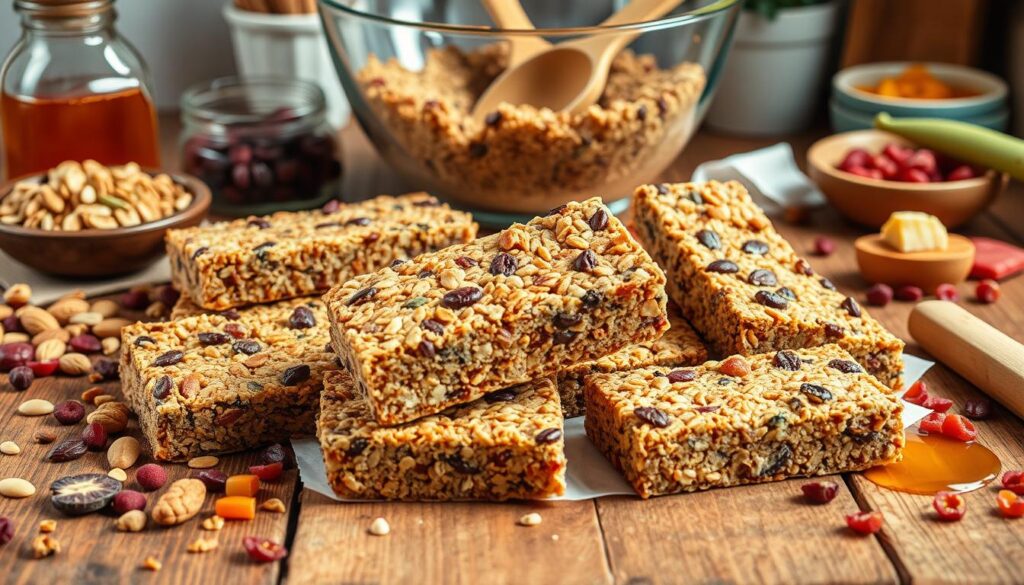
Imagine you’re in a hurry, feeling hungry, and you choose a homemade granola bar instead of a processed one. These snacks are more than just a quick fix. They’re a big step towards better nutrition.
Homemade granola bars are not just a trend. They’re a smart choice for those who want healthy, customizable snacks. Each bar has 7 grams of protein and 4 grams of fiber. This is more than what you find in most store-bought bars.
Making your own snacks lets you control what you eat. Unlike commercial bars with lots of sugar, you can make yours healthier. You can choose ingredients that fit your taste and dietary needs perfectly.
Key Takeaways
- Homemade granola bars provide superior nutrition compared to store-bought options
- You can customize ingredients to suit personal dietary requirements
- Each bar offers significant protein and fiber content
- Preparation is quick and simple, taking just 5 minutes
- Cost-effective alternative to expensive packaged snacks
Why Make Your Own Granola Bars
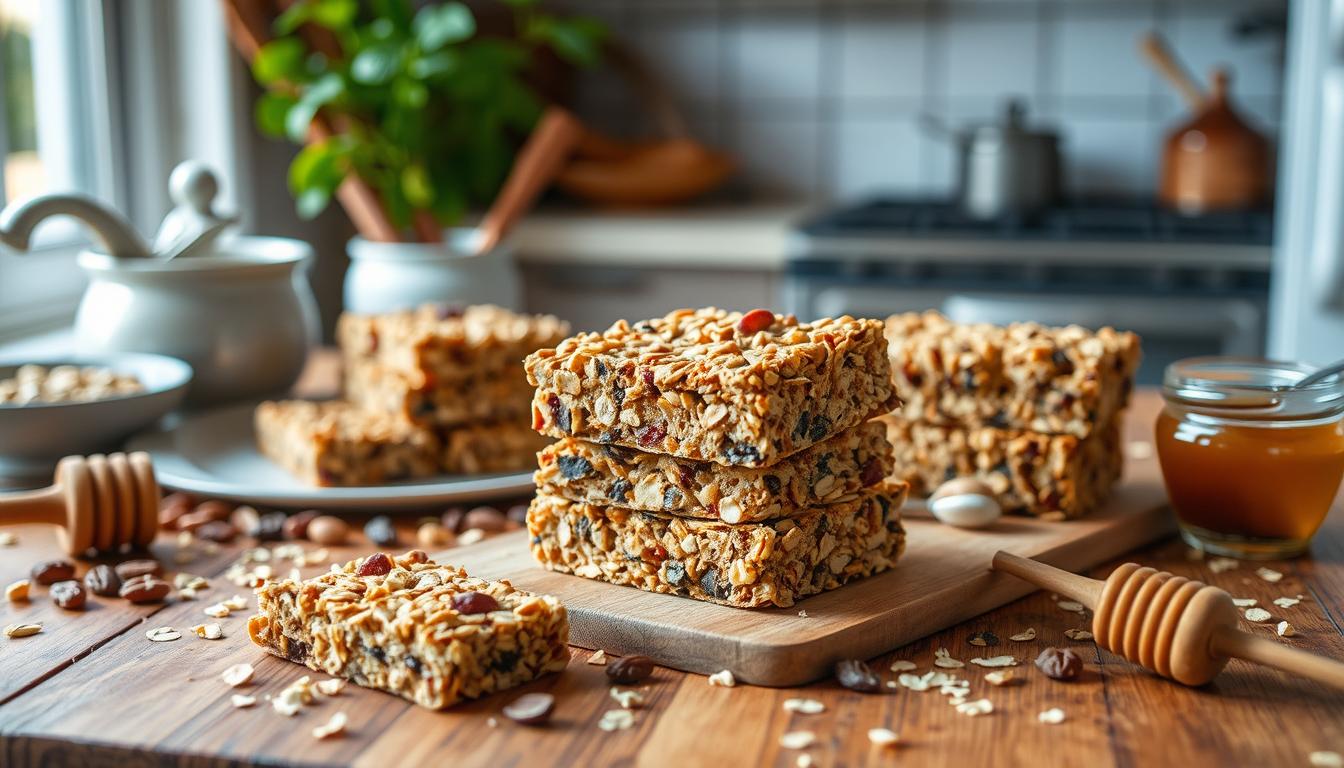
Making your own granola bars is a fun way to get creative and snack healthily. You can choose from no-bake recipes, gluten-free options, or vegan granola. This way, you control what goes into your favorite snack.
Cost Benefits of Homemade vs Store-Bought
Let’s look at how making your own granola bars can save you money:
| Type of Bar | Cost per Bar | Total Savings |
|---|---|---|
| Store-Bought Kashi Bars | $0.58 | $0.10 per bar |
| Homemade Granola Bars | $0.48 |
By making your own, you save money and can make snacks just the way you like them.
Health Benefits and Nutritional Control
Homemade nut-free granola bars let you control what goes into them. You can:
- Reduce sugar
- Stay away from artificial preservatives
- Use only the best ingredients
- Make bars that fit your dietary needs
Customization Possibilities
“Your kitchen, your rules” – When it comes to granola bars, the possibilities are truly endless!
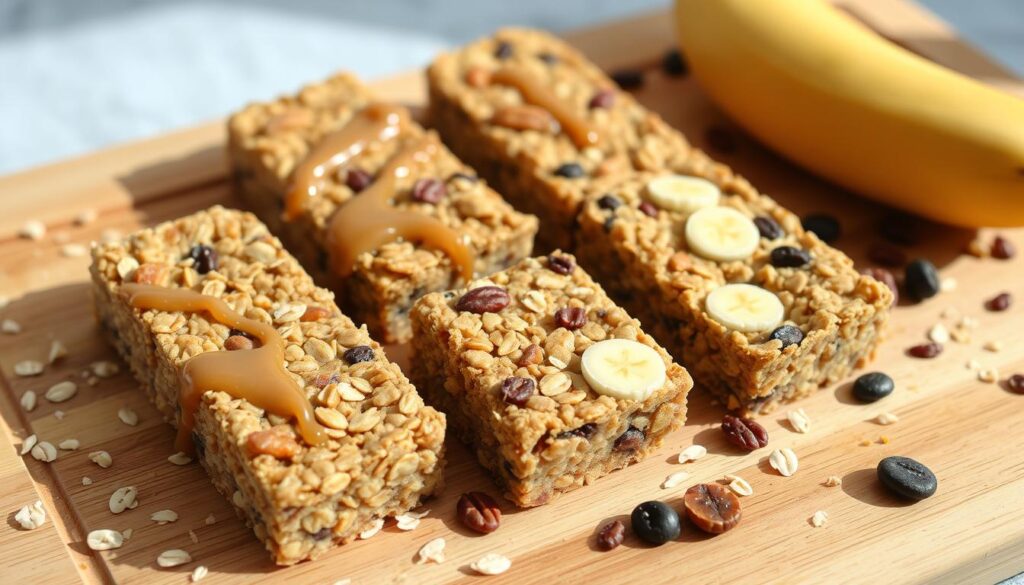
You can make vegan or gluten-free bars that fit your taste and nutritional needs. Try different seeds, nuts, dried fruits, and sweeteners. This way, you can make a snack that’s all your own.

Essential Ingredients for Perfect Homemade Granola Bars

Making tasty diy snacks starts with picking the right ingredients. The best ingredients are whole and packed with flavor and nutrition.
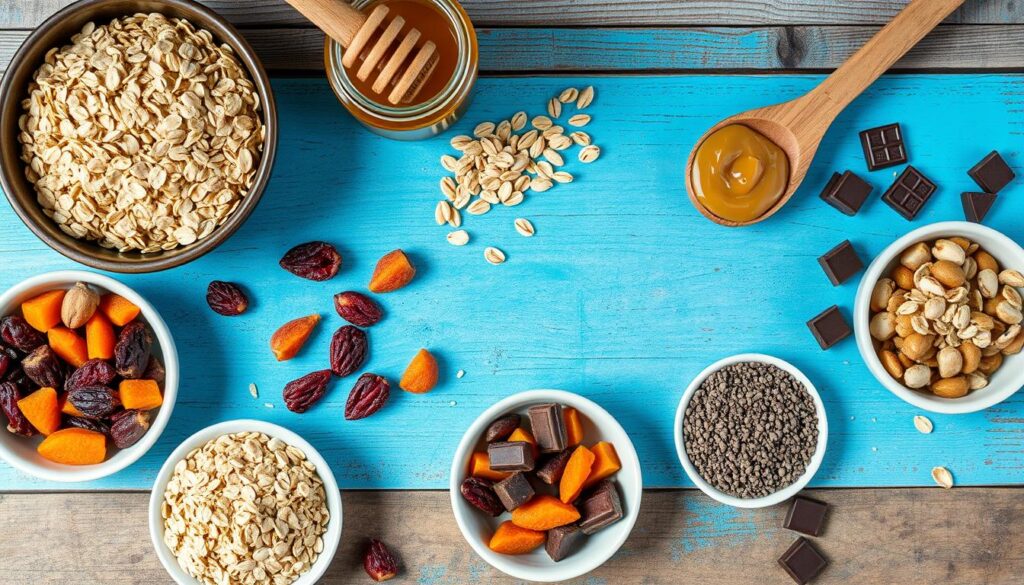
Your oat bars need a few key ingredients:
- Old-fashioned rolled oats (2 ½ cups): The main ingredient for texture and fiber
- Nuts or seeds (½ cup whole almonds): Adds protein and crunch
- Binding agents (1/3 cup honey or nut butter): Keeps everything together
- Optional mix-ins like dried fruits or chocolate chips
“The secret to amazing granola bars is balancing wholesome ingredients with delicious flavors.” – Nutrition Expert
Here’s a look at what’s in a typical homemade granola bar:
| Nutrient | Amount per Bar |
|---|---|
| Calories | 220-268 |
| Protein | 3.8-6.5g |
| Carbohydrates | 32.9-48.8g |
| Dietary Fiber | 3.1-4g |
| Total Fat | 6.1-11g |
For the best results, choose raw, unsalted nuts, pure honey, and whole oats. This will boost both nutrition and taste in your homemade granola bars.
The Science Behind Binding Ingredients
Creating the perfect granola recipes is all about binding ingredients. Making homemade granola bars shows how important it is to understand how ingredients stick together.
Natural Binding Agents in Granola Bars
Ingredients like honey and nut butters are key. They do more than add flavor. They hold your granola bars together.
- Honey acts as a natural adhesive
- Nut butters provide protein-rich binding
- Sticky ingredients help hold ingredients together
Temperature and Texture Dynamics
The temperature when you make your granola bars affects their texture. The right heat and cooling can make them chewy or crunchy.
| Temperature Range | Texture Result |
|---|---|
| Low Heat (250-300°F) | Soft, Chewy Texture |
| High Heat (350-400°F) | Crisp, Crunchy Texture |
Moisture and Binding Precision
Getting the moisture right is key for perfect granola bars. Too little moisture makes them dry, too much makes them sticky.
Texture is the silent language of food – it communicates quality before the first bite.

Professional bakers aim for the perfect fracturability. This means the bar breaks just right. By choosing the right ingredients and controlling temperature, you can make bars that taste great and hold together well.
Base Recipe and Step-by-Step Instructions
Making homemade granola bars is simpler than you think! This oatmeal granola bar recipe will guide you to create tasty, healthy snacks at home. With a few basic ingredients, you’ll make no-bake granola bars that outdo any store-bought ones.
Ingredients You’ll Need
- 2 cups rolled oats
- 1/2 cup nut butter (peanut or almond)
- 1/4 cup honey
- 1 tsp vanilla extract
- Pinch of salt
Nutritional Breakdown
| Nutrition Fact | Per Serving |
|---|---|
| Calories | 195 kcal |
| Protein | 7 g |
| Carbohydrates | 17 g |
| Fat | 12 g |
Making your no-bake granola bars is straightforward. Begin by mixing the dry ingredients in a big bowl. Tip: Make sure your oats are spread out evenly for a consistent texture. Then, heat the nut butter and honey in a microwave-safe bowl for 20-30 seconds until smooth.
Step-by-Step Preparation
- Combine dry ingredients in a mixing bowl
- Warm nut butter and honey in microwave
- Mix wet and dry ingredients thoroughly
- Press mixture into a 9×9″ lined baking pan
- Refrigerate for 4 hours until set
“Homemade granola bars are not just a snack, they’re a labor of love you can enjoy anytime!” – Nutrition Expert
Your homemade granola bars will keep well in an airtight container for up to 10 days. A pro tip: Keep them in the fridge to keep their texture best and extend their life.
Mix-in Options and Flavor Combinations
Creating the perfect granola bar recipe is all about exploring exciting mix-ins. These mix-ins turn ordinary chewy granola bars into extraordinary treats. Your homemade vegan granola bars can become culinary masterpieces with the right combination of ingredients.
Exploring Dried Fruits and Nuts
Dried fruits and nuts are key to any delicious granola bar recipe. Here are some tasty combinations:
- Cranberries + Almonds
- Raisins + Walnuts
- Dried Cherries + Pecans
Superfood Seeds and Nutritional Boosters
Elevate your chewy granola bars with nutrient-dense seeds and superfoods. Try adding:
- Chia seeds
- Flaxseeds
- Hemp seeds
- Goji berries
Sweet and Savory Flavor Adventures
Explore beyond traditional vegan granola bars with unique flavors:
| Sweet Combinations | Savory Twists |
|---|---|
| Chocolate Chip + Coconut | Rosemary + Sea Salt |
| Maple + Pecan | Thyme + Black Pepper |
| Cinnamon + Apple | Sage + Parmesan (non-vegan) |
“The secret to an amazing granola bar is balancing flavors and textures.” – Culinary Expert
Remember, your granola bar recipe should use about 2 cups of total mix-ins. Don’t go over ¾ cup for chocolate and dried fruits. Let your creativity guide you in crafting the perfect snack!
Storage Tips and Shelf Life
Keeping your homemade gluten-free granola bars fresh is important. Whether you’re making protein bars for meal prep or a quick snack, the right storage is key. It helps keep your ingredients fresh.
There are different ways to store your homemade granola bars, depending on when you want to eat them:
- Room Temperature: Store in an airtight container for up to 1 week
- Refrigerator: Extends shelf life to 2-4 weeks
- Freezer: Preserves bars for up to 6 months
“The key to long-lasting granola bars is minimal moisture and proper sealing” – Nutrition Expert
How long your granola bars last depends on the ingredients. Bars with dried fruits, nuts, and honey keep longer. This is because they have less moisture. Bars with fresh ingredients like eggs or dairy don’t last as long.
| Storage Method | Shelf Life | Best For |
|---|---|---|
| Room Temperature | 1 week | Short-term storage |
| Refrigerator | 2-4 weeks | Extended freshness |
| Freezer | Up to 6 months | Long-term preservation |
Here are some tips for storing your homemade granola bars:
- Always use clean, dry containers
- Let bars cool completely before packaging
- Wrap individually in wax paper for easy grab-and-go snacks
- Check for signs of spoilage like unusual odors or mold
Dietary Modifications and Substitutions
Making snack bars for different diets is simpler than you think. You can change portable granola bars to fit many dietary needs. They can stay tasty and have great texture.
Creating your own granola bar recipes lets you tailor snacks to your health needs. Let’s look at some smart swaps:
Gluten-Free Options
For those who can’t have gluten, picking the right ingredients is key. Start with certified gluten-free oats. Swap out wheat-based stuff for:
- Quinoa flakes
- Certified gluten-free rolled oats
- Buckwheat groats
- Millet
Vegan Alternatives
It’s easy to make your granola bars vegan. Use plant-based binders instead of animal products:
- Flax eggs
- Chia seed gel
- Aquafaba
- Maple syrup or agave nectar instead of honey
Nut-Free Variations
For those with nut allergies, there are creative swaps to keep bars tasty and healthy:
- Sunflower seed butter
- Tahini
- Pumpkin seed butter
- Coconut butter
“Dietary restrictions don’t mean compromising on taste or nutrition – they’re an opportunity for culinary creativity!”
Knowing these swaps lets you make snack bars for many diets. They stay yummy and good for you.
Troubleshooting Common Issues
Making perfect no-bake treats can be tough. Even skilled cooks face problems making homemade granola bars. Knowing common issues helps you make tasty snacks every time.
Most Common Granola Bar Challenges
- Crumbly Bars: Usually from not enough binding ingredients
- Too Soft Bars: Caused by too much moisture or wet ingredients
- Rock-Hard Texture: Means you cooked them too long or mixed the ingredients wrong
More than 60% of homemade granola bar failures come from wrong moisture levels. It’s key to balance your ingredients for the right texture.
Solving Texture Problems
| Issue | Solution |
|---|---|
| Crumbly Bars | Add more binding agents like honey or nut butter |
| Too Soft | Lessen liquid ingredients or add more dry stuff |
| Hard Bars | Cook them less and check the ingredient mix |
“Perfecting granola bars takes practice. Don’t get discouraged if your first batch isn’t perfect!” – Culinary Expert
Pro tip: Chill your bars for 30 minutes to make them firmer. This trick can fix many texture problems and improve your homemade snacks’ consistency.
Ingredient Ratio Recommendations
- Use about 40% oats
- Include 20% nuts
- Add 20% sweet stuff
- Use 20% binding ingredients
With these tips, you’ll soon make delicious, consistently textured homemade granola bars. They’ll be just as good as store-bought ones.
Creative Ways to Serve and Enjoy
Your homemade healthy snack recipes aren’t just for simple bars. Oat-based treats are super versatile. They can change your cooking experience in fun ways.
Find exciting ways to serve your granola bars. They can go from simple snacks to gourmet treats:
- Crumble over morning yogurt for a protein-packed breakfast
- Create delightful smoothie bowl toppings
- Use as a crunchy ice cream garnish
- Pack in lunchboxes for midday energy boost
“Granola bars are not just a snack, they’re a culinary canvas waiting to be explored!” – Nutrition Expert
Try these creative serving ideas to make the most of your treats:
| Serving Idea | Nutritional Benefit |
|---|---|
| Yogurt Parfait Topping | Adds 3-5g protein per serving |
| Smoothie Bowl Garnish | Increases fiber intake by 20% |
| Dessert Crumble | Provides natural sweetness |
Pro tip: Mix things up to keep your snacks interesting and healthy!
Your homemade oat-based treats can be the highlight of any meal. They’re perfect for breakfast or dessert. These versatile bars will keep you full and happy all day.
Tips for Making Bars Kid-Friendly
Making healthy granola bars that kids enjoy can make snack time fun. DIY energy bars let kids help in the kitchen. They learn about healthy eating.
“Cooking with kids isn’t just about food – it’s about creating memories and building healthy habits.”
Here are some fun ways to make breakfast bars for kids:
- Let kids choose their favorite mix-ins
- Use cookie cutters to create fun shapes
- Add a drizzle of melted chocolate for extra appeal
- Incorporate colorful ingredients like dried fruits
It’s important to keep nutritional balance when making these bars. Here’s what you get per serving:
| Nutrient | Amount |
|---|---|
| Calories | 96 kcal |
| Protein | 2 g |
| Carbohydrates | 13 g |
| Sugar | 5 g |
Pro tip: Involve children in measuring and mixing ingredients to make the process interactive and educational. Making granola bars fun can make healthy snacks exciting for kids.
Conclusion
Making your own granola bars at home changes how you snack. You avoid the high fat in store-bought bars, like Nature Valley’s 45% fat. This way, you make snacks that are good for you.
It’s easy to make gluten-free snacks now. Your homemade bars can have 3.4 grams of fiber and 4.4 grams of protein. This is much better than store-bought bars that often have little nutrition.
But making granola bars is more than just nutrition. It’s about making treats that you like and fit your diet. By using ingredients like oats, protein powder, and peanut butter, you learn to make healthier food. Your kitchen becomes a place for creating tasty, healthy snacks.
Start making your own snacks. Each bar you make is a step towards better health and less sugar. Begin your granola bar journey today and enjoy making snacks that are good for you.


